| Reference Number: AA-00709 Last Updated: 2024-06-20 14:36 |
Why would I need to display and use the Students tab?
If you are using student Single Sign On or creating deep links, you do not need to link your students, as the linking will happen automatically when students select the Single Sign On link or an assignment Deep Link.If you are not using Single Sign on, but you still want to sync grades, have temp codes sent to your students in bulk, and/or auto enroll students into the correct Hawkes section, you will need to utilize the Students tab.
Additionally, if a student creates an account directly through Hawkes (and not Single Sign On), they will not be linked to the Canvas course for grade syncing.
How to Display and Use the Student Tab
1. As an instructor in Canvas, select a Canvas course and launch the Hawkes Sync Tool.
2. Select Setup in the top right-hand corner and log in with your Hawkes Teach email address and password.
- Note: If you're accessing the sync tool for the first time in a course, you'll be prompted to enter your Hawkes Teach credentials immediately after opening the tool.
3. Select the checkbox option for Show Students page at the bottom of the list of sections.
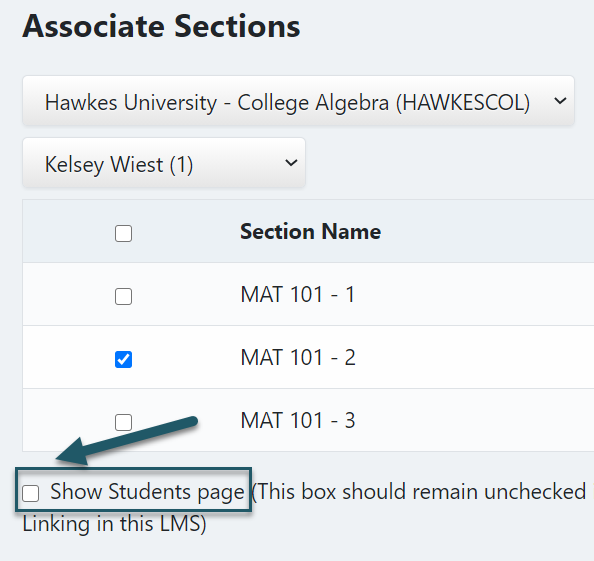
4. Select Continue.
5. Any Canvas students that are not linked to Hawkes will be displayed as unlinked. Select these students and select Link to match them with their existing Hawkes username or send a Temporary Access Code if they do not yet have access to Hawkes.
- You must wait until the section start date to create Temporary Access Codes through the Hawkes Sync Tool. Otherwise, the codes will not be generated and sent to your students.
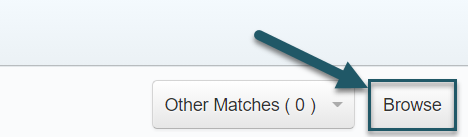
- Most often, if a student already has an Access Code enrolled in your Hawkes Grade Book, a matching student will be displayed in the 'Recommended Hawkes Student' column. If a matching student is not displayed, but the student already has an Access Code enrolled in your Hawkes Course, select Browse and select the student's name.
6. Select Continue, and then Continue again to complete the linking process.